What if there was a way to garden on any surface from concrete to grass to soil, to do so in a way that builds fertility and in a way that gives the digging task to nature’s experts…the worms! Well there is and they are called no-dig garden beds.
When we get down to it there is nothing more important for the future than the ability to grow food, and not just in the rural areas but in urban areas as well. But much of the soil in our urban areas is compacted, low in fertility or even in many situations covered in concrete. Some are also hesitant to invest the effort a garden takes due to renting and some just want to avoid all that digging which, apart from being a literal pain in the back, is also not really great for the soil. Whilst you might not realise it, soil (particularly fertile soil) is literally teaming with life and activity. Between fungi, bacteria, algae, worms and other creatures there is a huge amount of life in good soil. But every time we dig it, particularly if we turn it over, we break the underground networks and expose the nutrients in the soil to the sun, which results in the significant loss of fertility.
Originally coined in 1977 by Esther Dean, no-dig gardening is an approach that emulates natural systems by depositing layers on top of each other. As these layers break down they provide nutrients to your plants but also leave the soil eco-system intact to trap and make available all nutrients.
So how does it work. Well as with everything there are a million different approaches and nuances but in basic terms this is how it works.
- Most people will start with a raised bed. It increases drainage and makes the garden bed a bit easier to work. You don’t have to do this but it’s probably a good place to start. 20-30 cm in height is a good guide and don’t forget to think about what wood you’re using for your bed. Treated wood (often with a green tinge) is filled with toxic chemicals so ask questions before securing your wood. If you are starting on grass, give it a really close shave first and put a cover of blood and bone down. As you build the bed this will encourage the grass to rot down without you needing to dig it. If you are building on concrete or similar hard surfaces then a 10 cm layer of dry material (think sticks, twigs, dried leaves) will help ensure that you have good draining.
- Sheet mulch. Rather than digging, the idea of sheet mulching is to promote whatever is under your bed to break down. This is particularly important for vigorous grasses. Get yourself a whole bunch of newspaper and a hose and lay down layers of newspaper inside your raised bed. You want to overlap the edges by at least 10 cm and you’re looking for a layer of about half a centimetre so that you end up with a layer like thick cardboard. Overlapping is particularly important because any uncovered bits or weak-points will be exploited by weeds so make sure you have good coverage. Also make sure you water this all in well (particularly if you are building on concrete). At the end you should have no dry paper.
- Basically at this point you are just making a lasagne of garden layers. I generally start with a layer of lucerne as it’s high in nutrients so gives a nice fertile base. About 10 cm should do it. If you don’t have lucerne then pea straw, hay sugarcane mulch or something else will do). Don’t forget at this stage (and every other one) to water in well.
- Now for a layer of nitrogen rich goodness (for those of you who are into composting this should be sounding familiar). About 5 cm should do of manure and/or compost. Worm castings, food scraps and the like can also go here but don’t make the layer too thick or it can get anaerobic (not to mention prove too tempting for vermin!). Did I mention water… you know what to do!
- Repeat steps 3 and 4 one or two more times then finish with a layer of straw. If you are using food scraps then the bottom layer is the place for them otherwise you might attract rodents. There’s no real need to use lucerne apart from the bottom layer as it’s more expensive; straw, cane mulch, hay or even shredded paper will do.
- Make a hole about 10-15 cm where you want to plant in the top layer and fill it with your very best compost. Leave out the manure from this bit as you run the risk of burning fragile stems. Water it in and you’re good to go. Plant it up and then sit back and enjoy.
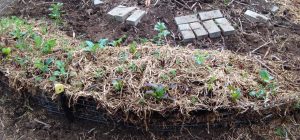
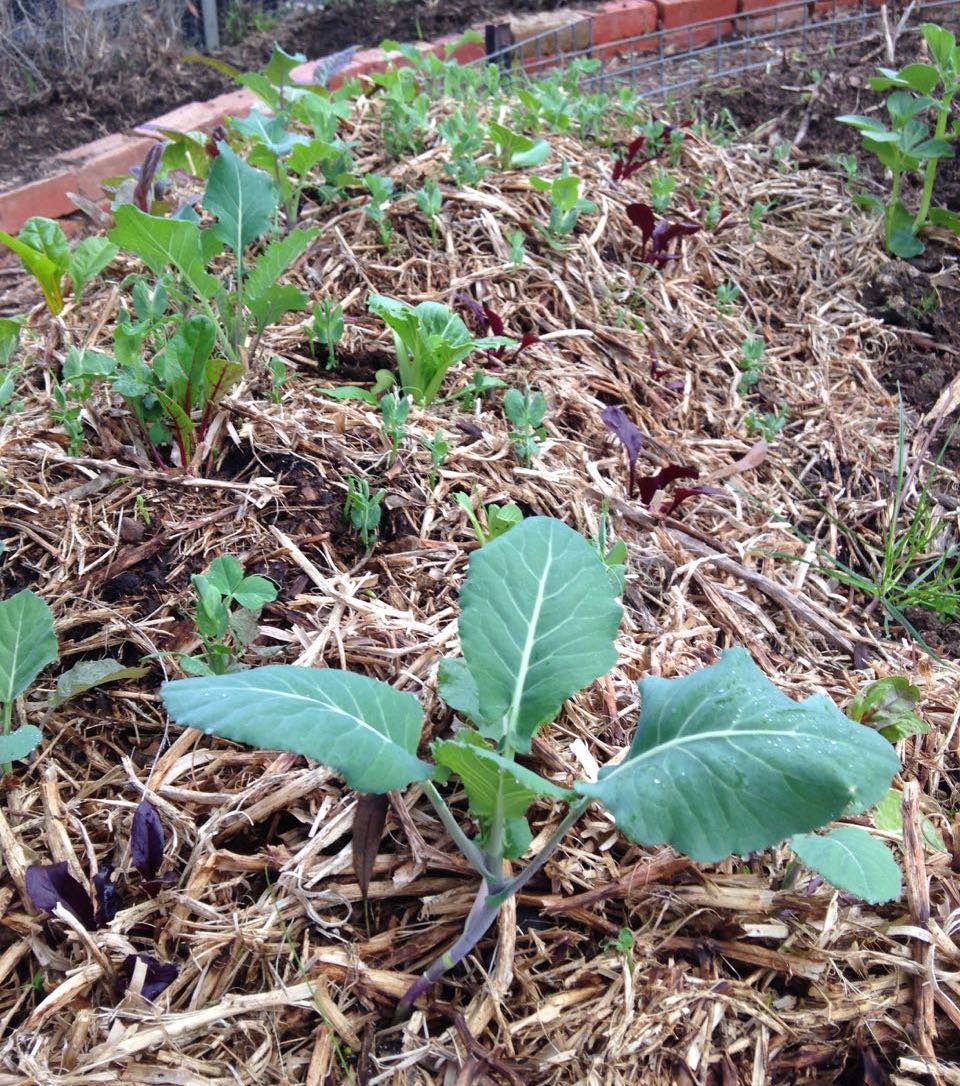
No dig garden
Some maintenance. As with all gardens, your attention is the best fertilizer. You’ve got a nice thick layer of mulch on the top so you shouldn’t have too many weed problems. You will need to water it well particularly in the early days not only because you have new seedlings but also because initially the beds ability to hold water is limited. As the bed breaks down this will improve. The other thing to remember is not to step on your bed. The whole point of no dig beds is that you have a well draining air-filled nirvana for worms and soil-life. Every time you step on a garden bed you compact the soil so try and avoid doing it. Whilst not being specific to no-dig beds, try not to leave big gaps in your planting. Think about things that grow up (like the way corn does), things that grow low (like a lettuce), things that grow horizontally (like spreading herbs or pumpkins) and even things that grow on other things (like beans). It’s amazing what you can fit in a small space and the lack of ‘gaps’ will reduce your weed issues.
Oh… a last word. As your no-dig bed breaks down it will reduce in size. So when you’ve finished your growing season just add another layer of compost and straw to both build it up and keep adding nutrients.
Happy gardening.